In today's technologically advancing world, the fusion of AI and embedded systems has birthed a remarkable concept known as TinyML. This amalgamation paves the way for sophisticated applications running on resource-constrained devices like the Raspberry Pi. Leveraging the power of Edge Impulse, an open-source platform for embedded machine learning, enthusiasts can embark on an exciting journey of real-time object recognition or motion detection using the robust capabilities of the Raspberry Pi 5.
Understanding the Essentials
TinyML: Short for Tiny Machine Learning, it encompasses a diverse range of technologies, including dedicated integrated circuits, algorithms, and software, tailored to perform machine learning tasks on-device.
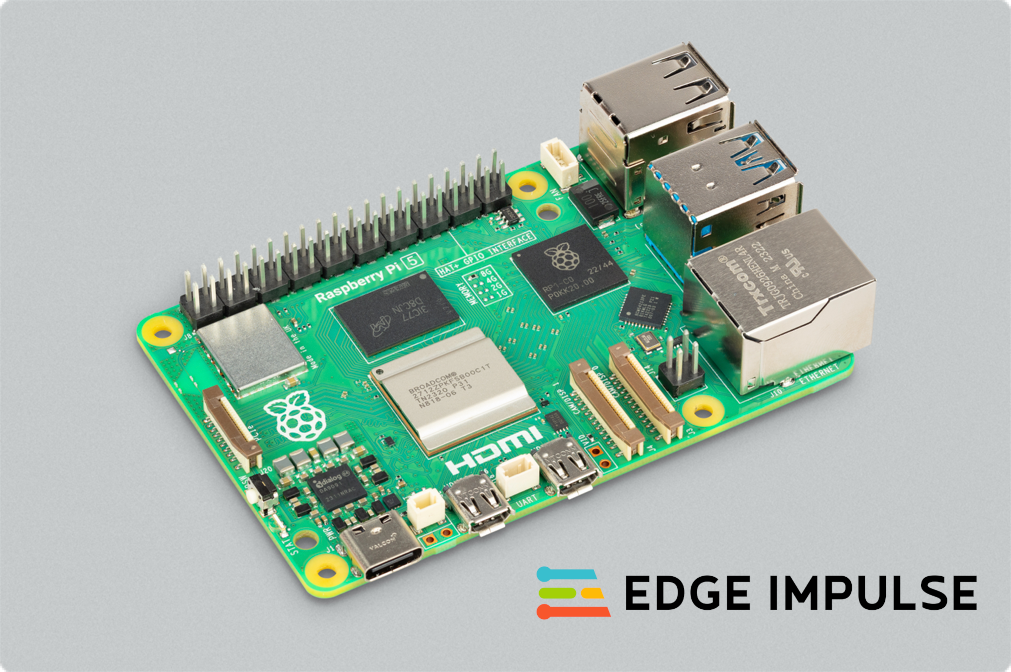
Raspberry Pi: An affordable yet versatile computing platform renowned for its compatibility with Linux and its GPIO pins, enabling control over electronic components for IoT applications.
Edge Impulse: Revolutionizing embedded machine learning, Edge Impulse empowers developers to create, optimize, and deploy solutions using real-world data, facilitating easier and faster development cycles.
Step-by-Step Implementation Guide
1. Project Setup:
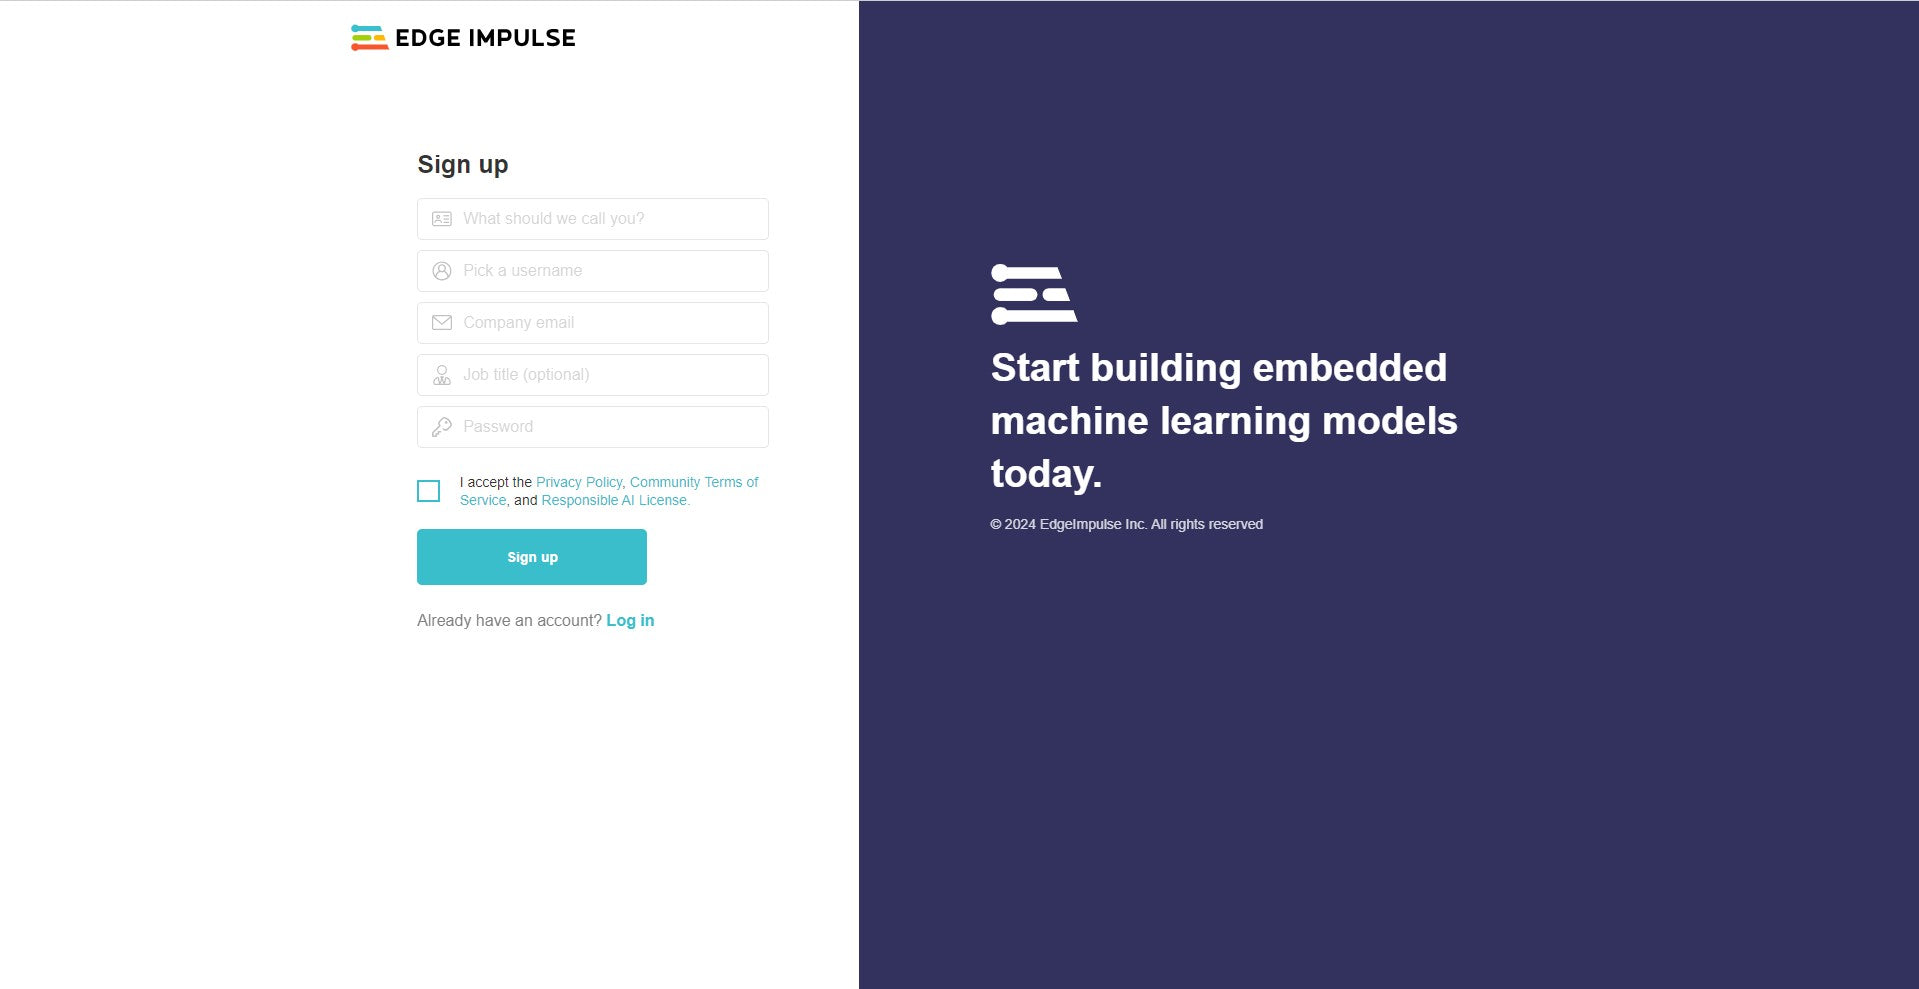
Begin by creating an account on Edge Impulse and initiating a new project dedicated to real-time image classification on the Raspberry Pi.
2. Installation:
Install Edge Impulse and its dependencies on the Raspberry Pi by executing commands via the terminal. Ensure a stable internet connection for seamless installation.
curl -sL https://deb.nodesource.com/setup_12.x | sudo bash -
sudo apt install -y gcc g++ make build-essential nodejs sox gstreamer1.0-tools gstreamer1.0-plugins-good gstreamer1.0-plugins-base gstreamer1.0-plugins-base-apps
sudo npm install edge-impulse-linux -g --unsafe-perm
After installation, verify the success of the process:
edge-impulse-linux --clean
3. Data Collection:
To connect your Raspberry Pi camera, navigate to the 'Devices' tab and select 'Connect a New Device'.
Click on 'Connect Device' and choose your mobile device or Raspberry Pi.
Subsequently, initiate data acquisition by clicking on the 'Data Acquisition' option. Utilizing the Raspberry Pi camera with Edge Impulse Studio, proceed to load your samples.
Within the Data Acquisition page, input the label names and designate 'Camera' as the sensor. Commence sampling by clicking on 'Start sampling'.
4. Model Training:
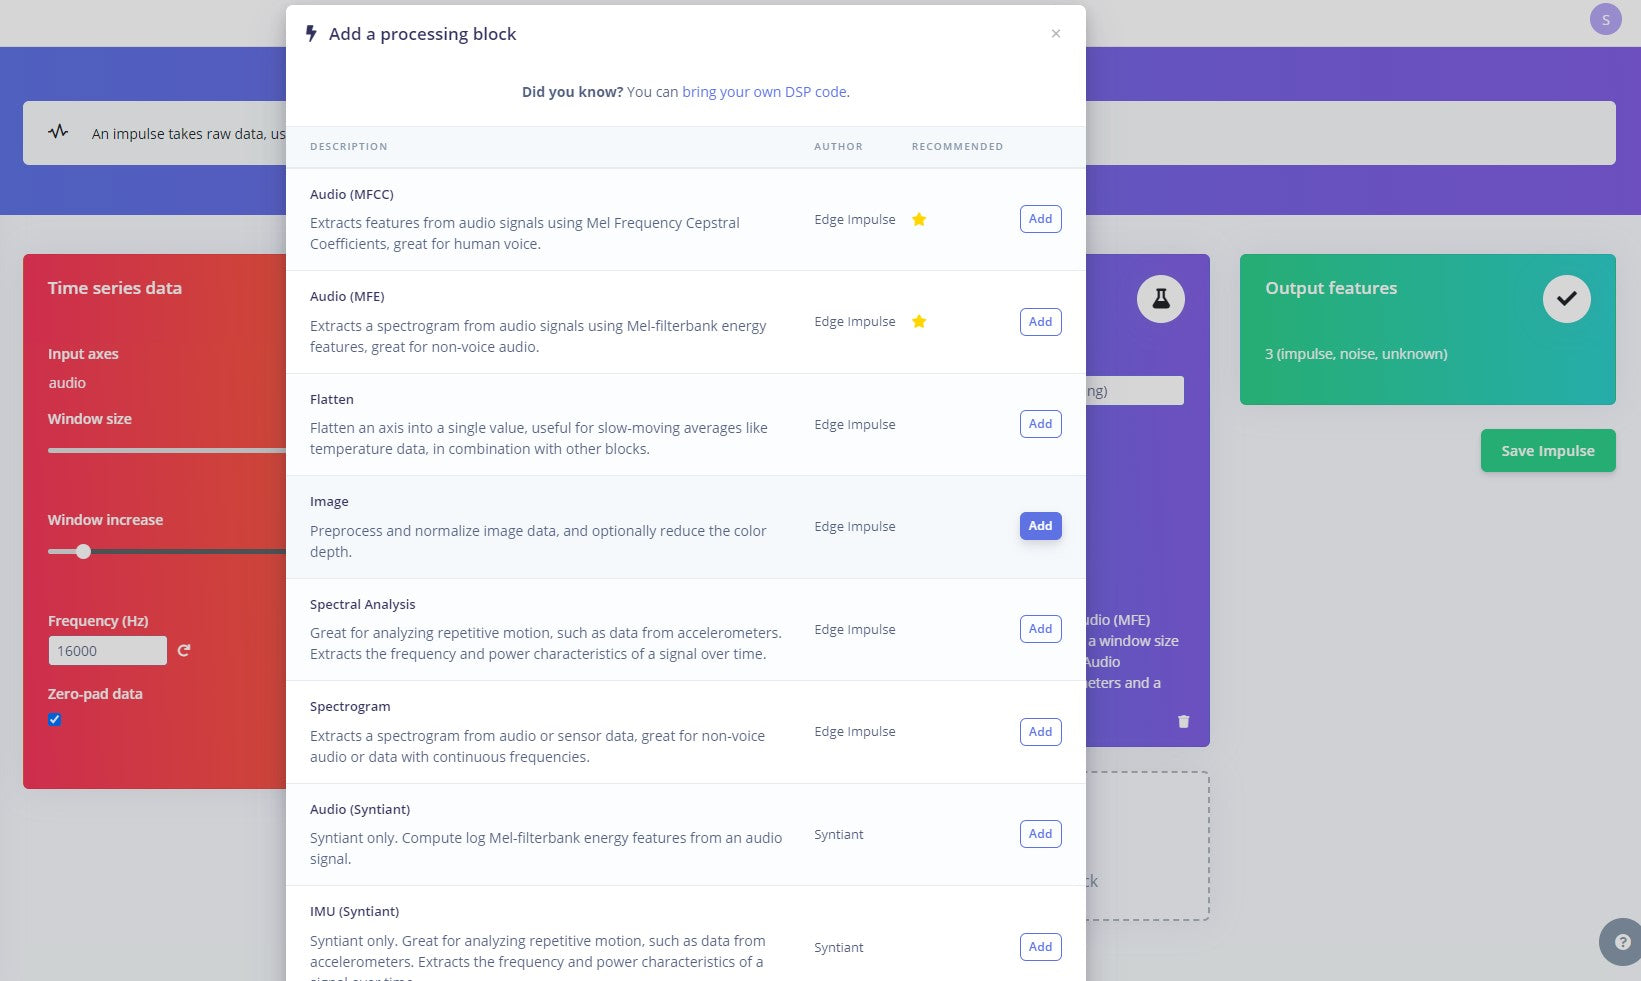
With the dataset prepared, the next step involves creating an impulse tailored to the data. Navigate to the 'Impulse Design' page to initiate this process.
On the 'Create Impulse' page, begin by selecting 'Add a processing block'.
Click on the "Add" button adjacent to the "Image" block to incorporate a processing block responsible for normalizing the image data and reducing color depth. Following this, select the "Transfer Learning (images)" block to acquire a pre-trained model designed for image classification.
We'll leverage transfer learning to fine-tune it for our specific task, such as potato and onion recognition. Upon configuration, proceed to save the impulse.
Next, access the "Images" subsection within the "Impulse Design" menu and navigate to the 'Generate Features' tab. Initiate feature generation by clicking the green "Generate Features" button.
Subsequently, navigate to the "Transfer Learning" section under the "Impulse Design" menu. Commence model training by selecting the "Start Training" button located at the bottom of the page.
With the trained model ready, proceed to test its functionality. Navigate to the "Live Classification" tab within the left-hand menu. Utilize the Raspberry Pi camera to capture sample images for live classification testing.
5. Testing:
Navigate to the Live Classification tab within Edge Impulse Studio to test the trained model using live samples captured through the Raspberry Pi camera.
6. Deployment:
We can seamlessly deploy our Edge Impulse image classification model onto the Raspberry Pi. To do so, navigate to the Raspberry Pi terminal and execute the following command:
edge-impulse-linux-runner
Upon execution, Edge Impulse Studio initiates real-time streaming, providing a streaming link such as "http://192.xxx.xx.xxx:xxxx". This link enables access to live streaming of the model's output. Opening the provided link in a web browser presents the output, allowing for real-time monitoring and analysis of the deployed model's performance!

Leave a comment