The Raspberry Pi Imager is the official tool provided by Raspberry Pi for effortlessly installing an operating system on your Raspberry Pi single-board computer (SBC). Follow these simple steps to get Raspberry Pi OS up and running on your device:
Download and Install Raspberry Pi Imager
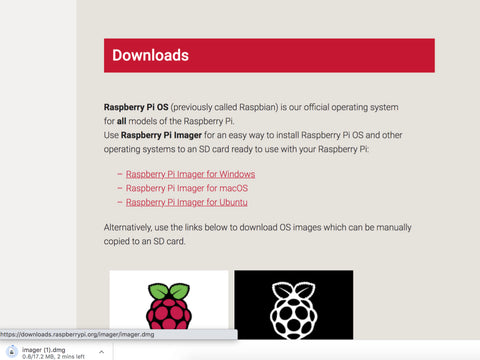
First, download and install the Raspberry Pi Imager from the official Raspberry Pi website. The Imager is available for multiple platforms, including Windows, macOS, and Linux, ensuring compatibility with your computer.
Select the Operating System

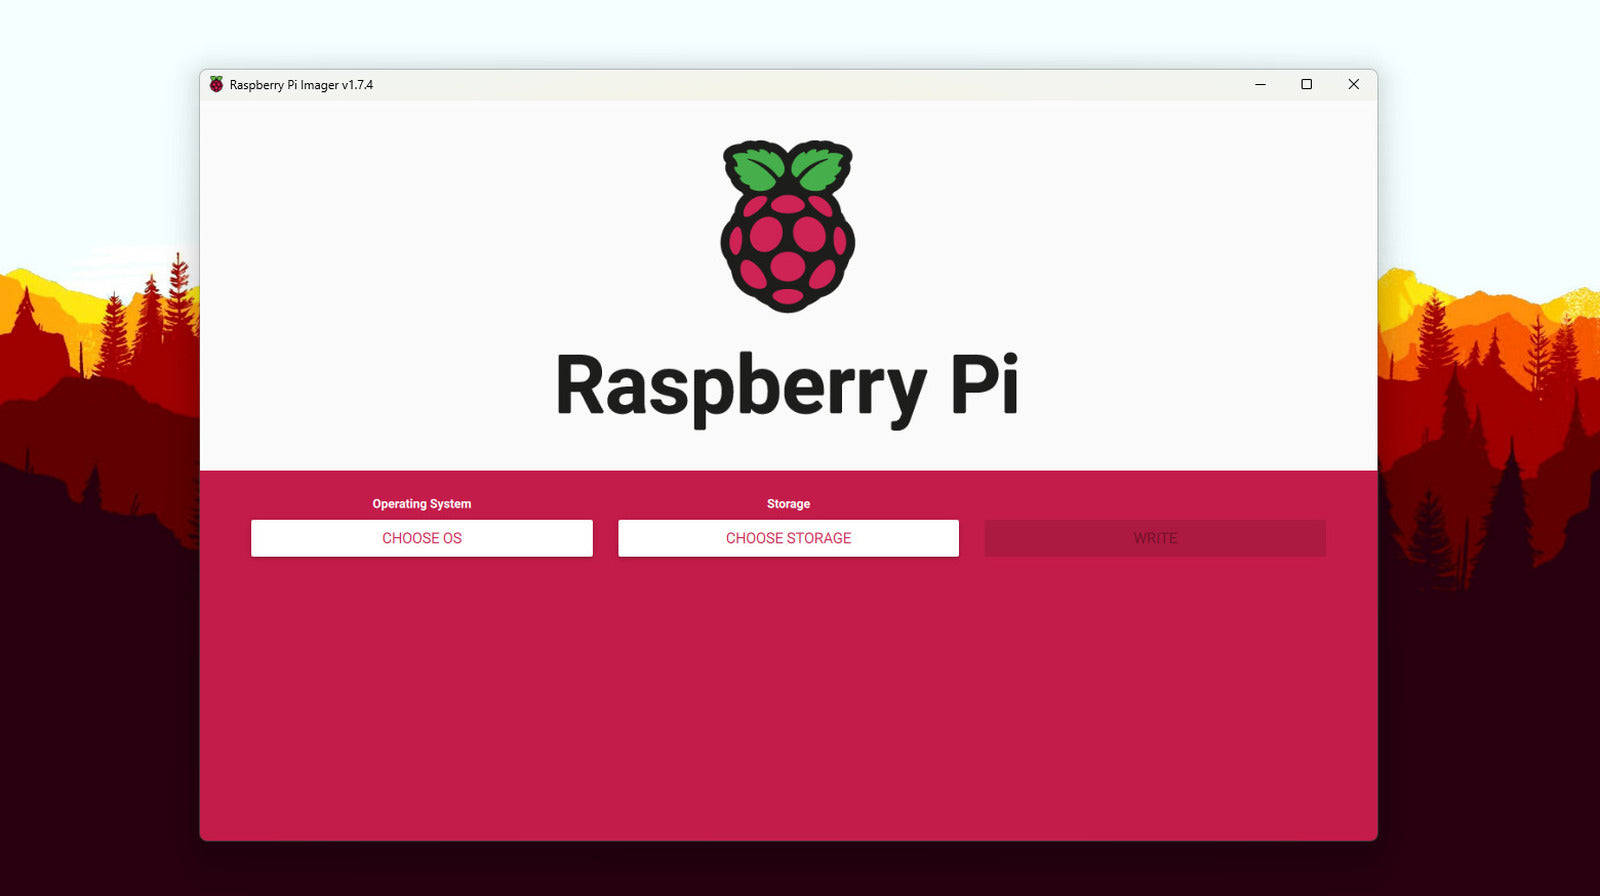
Launch the Raspberry Pi Imager and choose the operating system you wish to install. Raspberry Pi OS is the recommended choice for most users, but you can select other supported operating systems if needed.
Choose the Storage Device

Insert a microSD card into your computer using a USB card adapter if necessary. In the Imager, click on "Choose Storage" and select the microSD card from the list of available storage devices. Ensure that you have selected the correct device to avoid data loss.
If you want to customize your Raspberry Pi OS installation, click on "Edit Settings" before proceeding. Here, you can configure Wi-Fi settings, enable SSH for remote access, set up your hostname, username, password, and adjust other preferences according to your requirements. This step is particularly useful for headless setups or remote administration of your Raspberry Pi.
Write Raspberry Pi OS to the Card

Once you have configured the settings, click "Save" and then "Yes" to apply them. Confirm that you want to proceed with the installation, acknowledging that all data on the microSD card will be erased. Enter your computer's password if prompted, and the Imager will start writing Raspberry Pi OS to the card.
Boot Up Your Raspberry Pi
Insert the microSD card into the slot on your Raspberry Pi and power it on. Raspberry Pi OS will begin booting up, displaying the desktop GUI or the Linux command line interface based on your OS version. Congratulations! Your Raspberry Pi is now ready for use.

Leave a comment